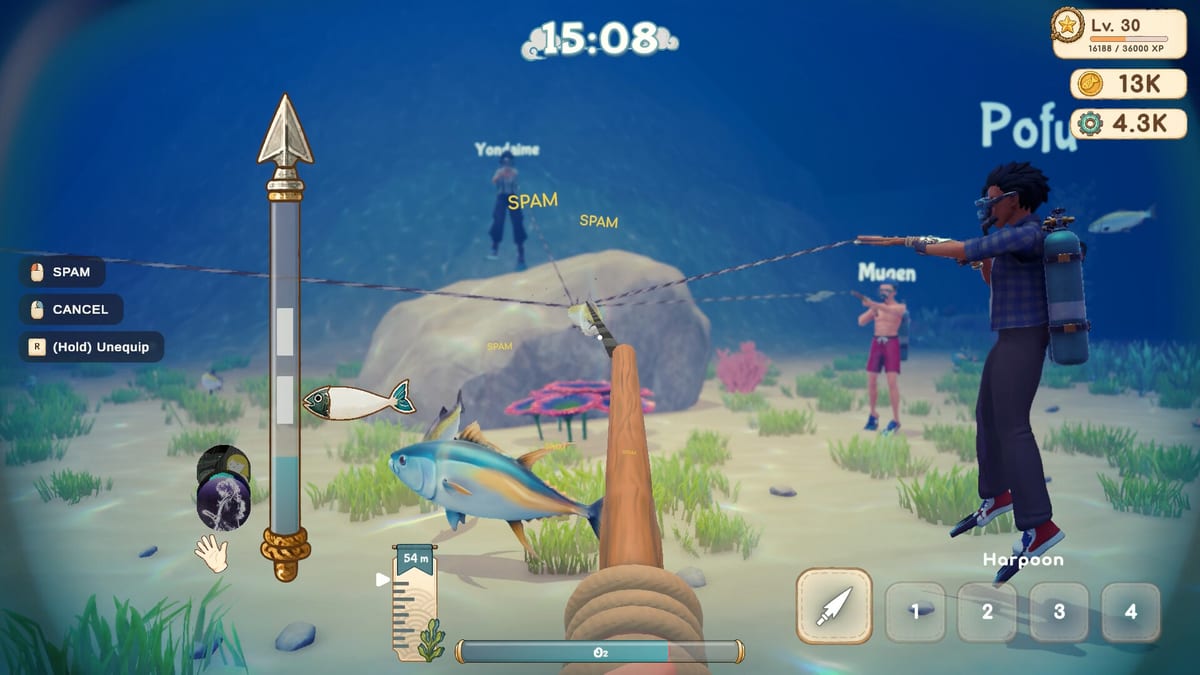
Deep Blue Sushi Restaurant Management Guide
More tables only help if the pass can keep up.
The Steam pitch is blunt: start with a simple sushi counter and grow it into a busy seaside restaurant. Tables, stations, and menu slots are the three levers. Spend money on the wrong one and you either starve the kitchen or leave empty seats. This guide is the surface half of the loop — the part that pays for oxygen tanks and deeper harpoons.
The Service Window
A night of service is a throughput puzzle. Customers sit, order from whatever you listed, wait for plates, then leave a rating. Empty menu slots or dishes you cannot stock will hurt satisfaction. The same lesson as similar sushi sims applies: only list recipes you can actually plate. Catching three mackerel does not justify a five-item board.
Before doors open, stage rice, pre-cut if the station allows it, and assign roles. In solo play you bounce between dive and counter; see Solo Play. In co-op, one chef should live at the board and one runner should own tables. The Co-op Tips page covers crew sizes from two to five.
Tables Versus Kitchen Capacity
Each extra table raises the theoretical nightly take and also raises the number of tickets in the air. If plates stall, customers wait, ratings drop, and the extra table is a loss. Upgrade the preparation station until you can clear the current seating, then add tables. Decorations come last: they polish satisfaction once the food is already leaving the pass on time.
Serving station upgrades keep finished dishes edible longer. That buffer matters when the runner is wiping a spill or the diver just dumped a crate of fish on the dock.
Menu Expansion
Menu upgrades unlock recipe slots. Use them for a mix of cheap staples and one or two premium plates, not a wall of rares. Premium items need fish you can catch every night. If a deep-zone ingredient is unreliable, keep it as a special, not a listed staple. The All Recipes list and Recipe Unlock Guide explain how dishes appear.
Quality from timing windows multiplies price. A perfect sardine roll can beat a rushed exotic if the exotic sits too long. Practice windows on cheap recipes first.
Spending The Night’s Take
Income should rotate between three buckets:
- Dive kit — oxygen, suit, harpoon — so tomorrow’s crate is better
- Kitchen speed — prep station, rice cooker, pass
- Seating and menu — only after the first two are not bottlenecks
The Equipment Guide has the full upgrade order. Restaurant cosmetics wait until you are no longer drowning in tickets.
Chaos Events
Steam promises specialized tools “above and below the surface” including cleanup. Treat spills and broken tickets as first-class jobs. A dirty floor that blocks a runner costs more than one missed fish. Keep a cleaner assigned in four- and five-player lobbies.
Character cosmetics do not change cook speed, but matching bright colors helps you spot who is holding the plate. That is covered in Character Customization.
Related Pages
- Sushi Recipes for timing and plating
- Getting Started for the first upgrades
- Achievements Hub for service-related unlocks such as Employee of the Day and Last Call!
- Updates Hub if a patch changes economy numbers
Frequently Asked Questions
Quick answers to the most common questions.
Should I buy tables first?
Only after the kitchen can finish tickets for the seats you already have. Extra tables without prep speed create waits and worse ratings.
How many dishes should I list?
Start with a short board you can stock every night. Add premium plates only when the fish is a reliable catch, not a lucky deep-zone spawn.
Do decorations matter?
They help satisfaction after food quality and wait times are stable. Buy functional stations first.
What if orders pile up in co-op?
Split cook and runner. One player should not both dive and plate during peak. See Co-op Tips for role maps by party size.
Does higher quality sushi sell for more?
Yes. Hitting timing windows on each prep step raises plate quality and nightly income compared with mashed inputs.