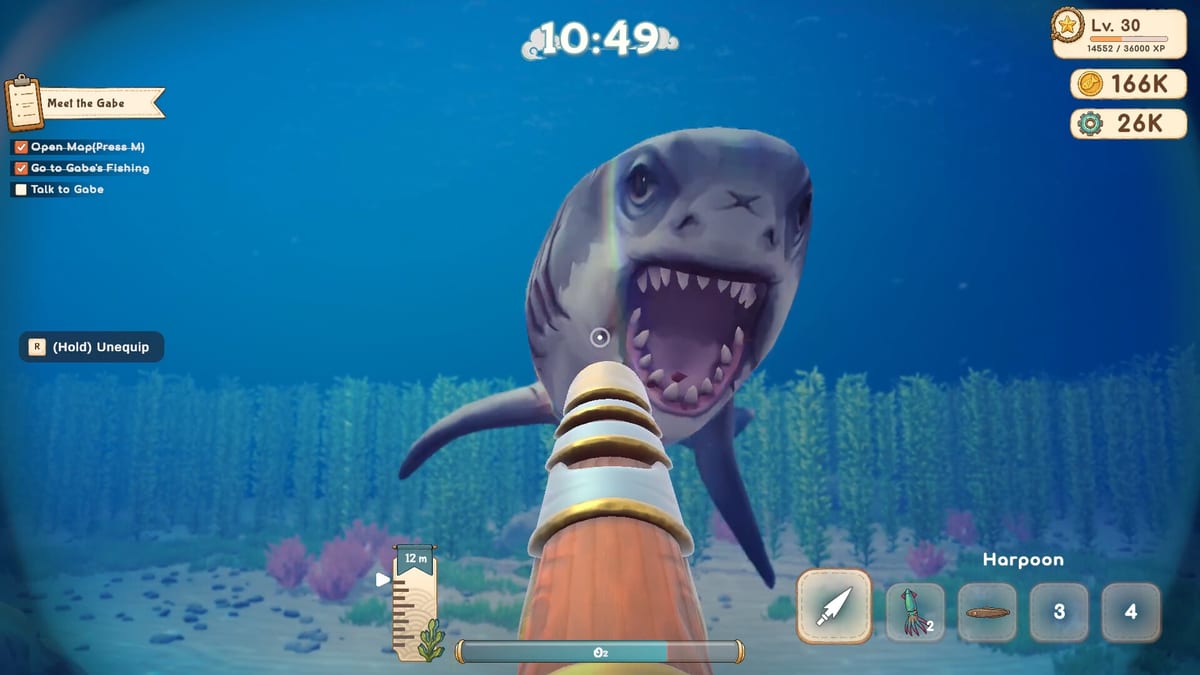
Deep Blue Sushi Fish Tier List
Every fish ranked by value, difficulty, and recipe importance.
Knowing which fish to prioritize during your dives can make the difference between a struggling restaurant and a thriving one. This tier list ranks all known fish species in Deep Blue Sushi based on sell value, catch difficulty, and recipe importance.
S Tier - Must Catch
These fish are the most valuable and should be your top priority during dives:
- Golden Tuna: Found in deep ocean zones, extremely high sell value and used in multiple premium recipes including Golden Tuna Deluxe. Requires upgraded equipment to reach its spawn area.
- Deep Sea Bass: Deep ocean exclusive, top-tier ingredient for advanced sushi like Deep Sea Bass Premium. Difficult to catch but worth the effort for its recipe value.
- Crystal Shrimp: Rare spawn in shallow waters, extremely high demand from customers. Used in Crystal Shrimp Tempura Roll, one of the best mid-game recipes.
A Tier - High Priority
Excellent fish that contribute significantly to your income:
- Red Snapper: Common in mid-depths, consistent value and used in several recipes including Red Snapper Sashimi. A reliable catch for steady income.
- Moonfish: Found near the deep ocean boundary, good sell price and used in Moonfish Special recipe. Requires careful navigation to reach its zone.
- Striped Marlin: Fast and hard to catch, but very valuable when landed. Its speed makes it a challenge, but upgraded harpoons help significantly.
B Tier - Solid Choices
Reliable fish that form the backbone of your restaurant menu:
- Common Mackerel: Abundant in shallow waters, easy to catch, good for basic recipes. The foundation of your early game income and Mackerel Sushi.
- Blue Tang: Shallow water staple, moderate value, used in many recipes. Easy to catch in large numbers for Blue Tang Nigiri.
- Sea Bream: Mid-depth regular, balanced value and catch difficulty. Used in Sea Bream Roll, a solid mid-game recipe.
C Tier - Fillers
Lower value fish that are useful when better options are unavailable:
- Sardine: Extremely common, low value but easy to catch in bulk. Used in Sardine Roll for basic income.
- Anchovy: Similar to sardines, useful for basic recipes when nothing better is available.
- Small Crab: Found in shallow waters, low individual value but easy to collect.
D Tier - Avoid Unless Needed
Low value or difficult to catch with poor returns:
- Jellyfish: Low value and can sting you during capture, causing you to drop other fish.
- Pufferfish: Dangerous to catch, minimal recipe use, and can inflate to block your path.
- Seaweed Cluster: Not technically a fish, very low value but sometimes required for specific garnish recipes.
Catch Difficulty vs Value
The best strategy is to balance catch difficulty with sell value. S-tier fish are worth the extra effort and equipment investment, while C and D-tier fish should only be caught when nothing better is available or when a specific recipe requires them. Focus your dives on the highest tier fish your current equipment can safely reach.
Related Content
- Dangerous Creatures for predator information and combat strategies
- All Recipes to see which fish each recipe needs and plan your catches
- Ocean Exploration for fish location details and zone maps
- Getting Started for basic fishing tips and equipment advice
Frequently Asked Questions
Quick answers to the most common questions.
What is the best fish to farm?
Golden Tuna and Deep Sea Bass offer the best value per catch. However, they require upgraded equipment to reach their spawn zones.
Do fish values change between updates?
Yes, the developers may adjust fish values during Early Access based on game balance. Check this page regularly for updates.
Where do I find S-tier fish?
S-tier fish are found in mid-depth to deep ocean zones. You need upgraded diving equipment to access these areas safely.
Should I catch low-tier fish?
Only if nothing better is available or if a specific recipe requires them. Low-tier fish take up inventory space that could be used for more valuable catches.